Seed beads. I got a little idea in my little head, and decided that I wanted to do some portraits with seed beads. So I went and bought a bead loom and thread, watched some videos on Youtube and made this:
Sadly, the loom was quite narrow, only 23 beads across, so I made it in two sections and them sewed them together. My reference picture wasn't great, either. I basically took my pastel drawing of Bernard (from Megamind) and put it through a pixellating filter, then counted across the squares to match the beads. I also had beads of different opacities, and that didn't help much either. But I was close!
So I went out and bought beads that were all the same opacity, and I also invested in a computer program that makes cross stitch patterns. OMG, so damn helpful! But my loom was still too narrow (and bendy and stretchy) so it still had to be in two pieces.
So I went online and ordered a bigger bead loom! There are larger ones than this, but I didn't want to hurt my brain too much. This one is around 120 beads across, almost 100 beads larger than my cheap, crappy original one.
Still using the cross stitch pattern maker, I took a screen shot of Snape from movie 7 and made it monochrome blue. I also had to tweak it quite a bit. Seed beads are not square (unlike cross stitches) so the original image has to be stretched waaaay out so that it ends up halfway normal when you're done. This one is still a bit too tall and skinny.
Here's a better picture of that one, off of the loom. I'm not quite sure what to do with the finished product. Sew it on a sweater? Make a little purse out of it? I dunno! For me, it's more in the making than the having.
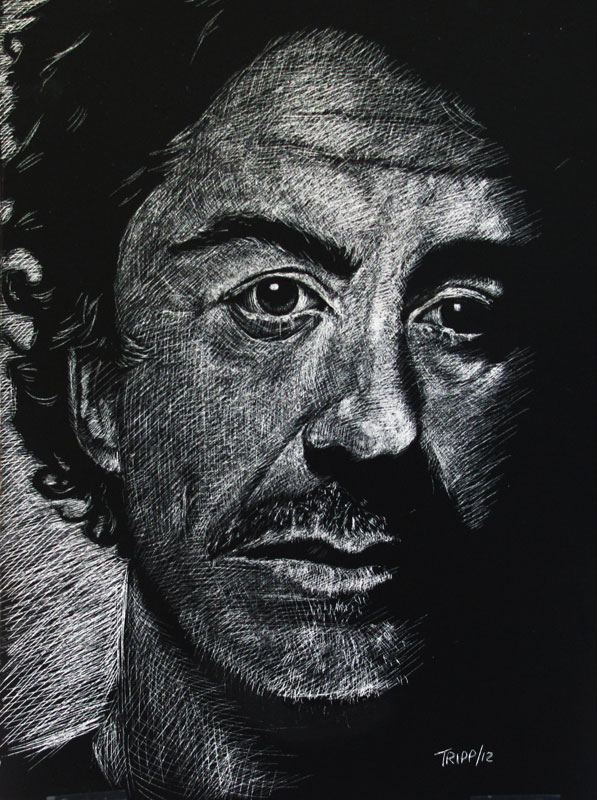
And finally, with this one I branched out into skin tones. I had a lot of trouble photographing this one. The dark beads are quite shiny, and they kept reflecting too much light. It's actually VERY photo-realistic in real life.
I have big plans for my next bead project. BIG plans. :D 8mm beads, making a figure that will be about five feet tall. I'll let you know how it turns out!